Before assembling a cabinet or bookcase against a wall, record the
skirting board's height and how far it projects into the room.
Compare that profile with the product's rear recess, base or feet,
then check its wall-restraint instructions. A gap behind the furniture
may be expected, but the unit still needs suitable floor support and
the fixing arrangement specified for that product.
Send these details when arranging
cabinet
and bookcase assembly. Resolving the fit before assembly helps avoid
discovering that the finished unit cannot occupy its planned position
or be secured as intended.
Record the whole skirting profile
Measure from the finished floor to the highest point of the skirting.
Record its greatest projection from the wall face, including decorative
moulding or a separate bead at floor level. The widest part may not
be at the top.
Take a photograph from the side as well as a wider view of the
intended location. Use consistent units and label which measurement
is height and which is projection. If the furniture spans a corner
or several sections of trim, check each relevant section rather
than assuming they match.
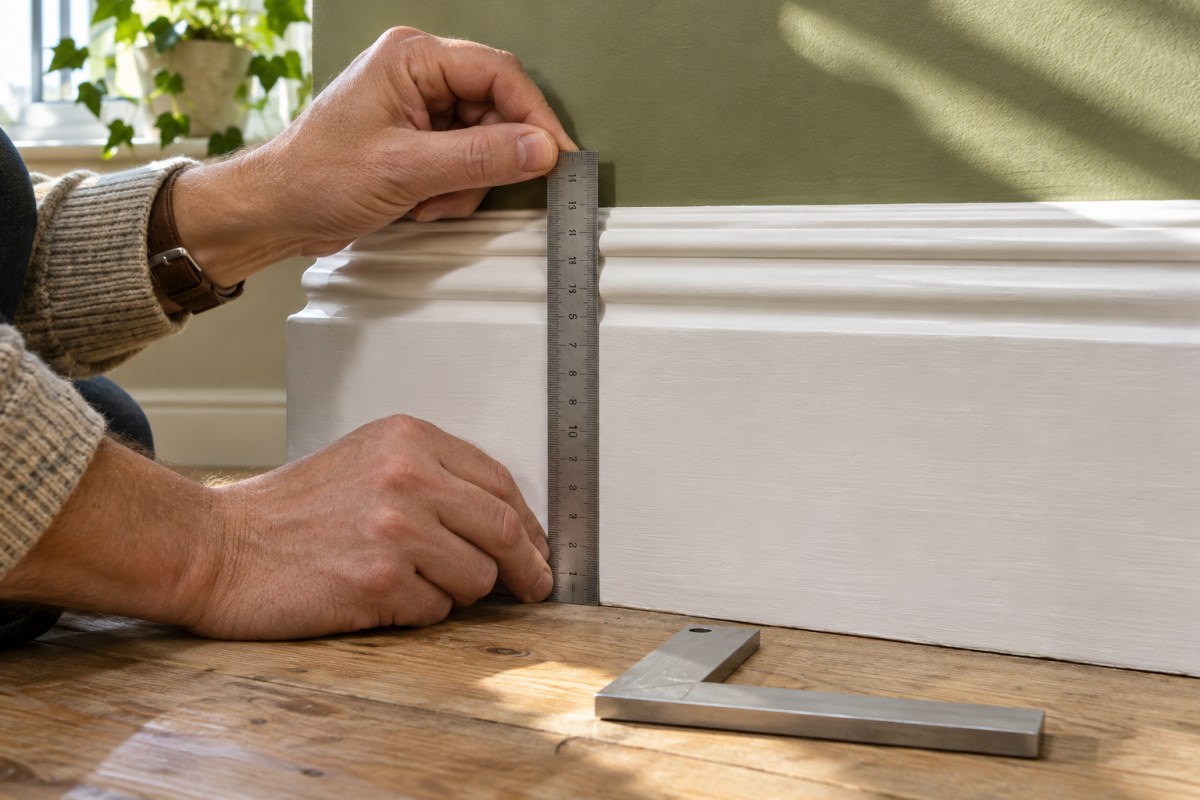 Record actual dimensions at the planned location; the image is
illustrative, not a measurement reference.
Only measure safely accessible areas. Do not pull an unstable cabinet
forward or remove an existing restraint to reach the skirting. If
the area is obstructed, explain that limitation and arrange for it
to be checked safely.
Swipe horizontally to read all columns.
Measurements and details to send before assembly
| Record |
Why it matters |
Useful evidence |
| Skirting height |
May exceed the product's rear recess. |
Measurement from finished floor and side photo. |
| Maximum projection |
May hold the furniture farther from the wall. |
Profile photo including any floor bead. |
| Product base detail |
Feet, plinths and cut-outs differ. |
Exact model and instruction diagram. |
| Alcove and room space |
Trim can reduce the usable opening. |
Dimensions at relevant heights and a wide photo. |
| Wall-restraint requirement |
The final position must permit the specified arrangement. |
Manual, supplied hardware and known wall details. |
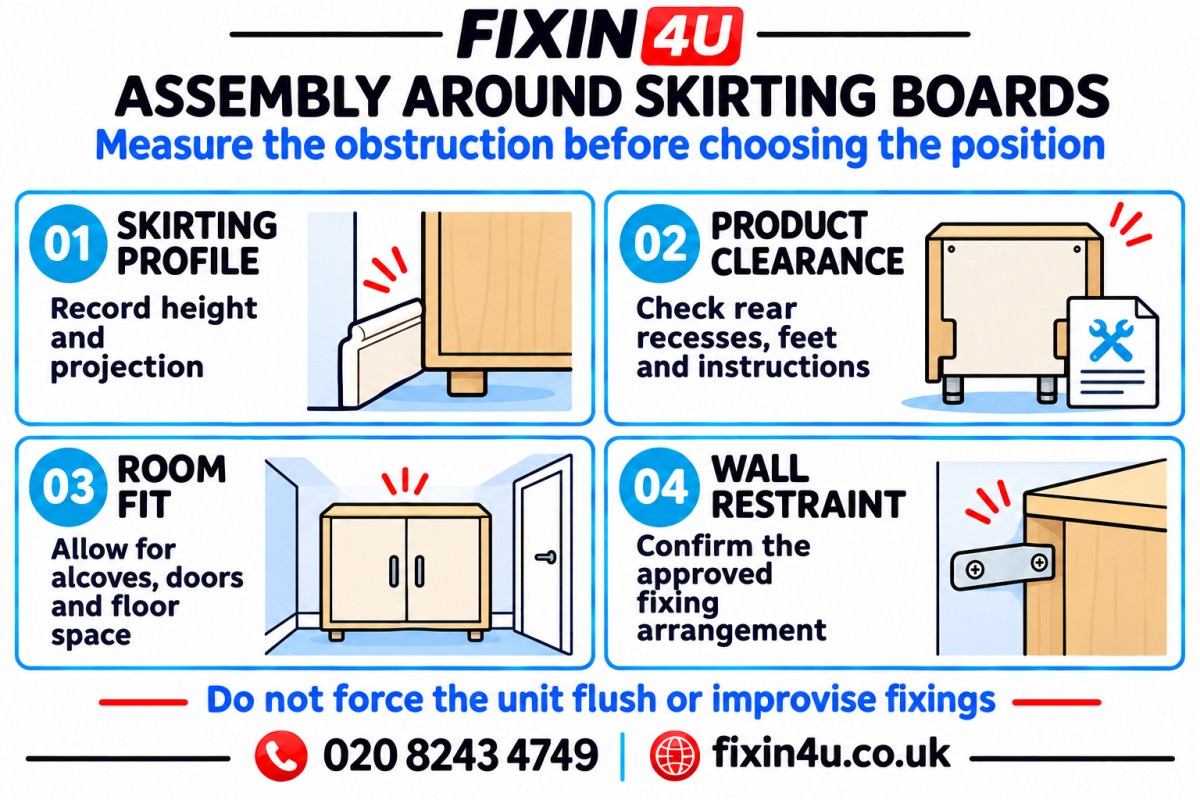 Check the location and product together before choosing the final position.
Compare the skirting with the exact product
Overall width, depth and height do not tell you whether a cabinet
clears the skirting. Look for the shape of the rear lower edge,
the position of the back panel and any legs or plinth. Confirm the
details in the instructions or with the manufacturer.
Some bookcases have a factory-made rear cut-out. IKEA's BILLY support
guidance describes this feature, but that does not establish that
every model or every skirting profile will fit. Check the actual
version and dimensions rather than relying on the appearance of
a similar product.
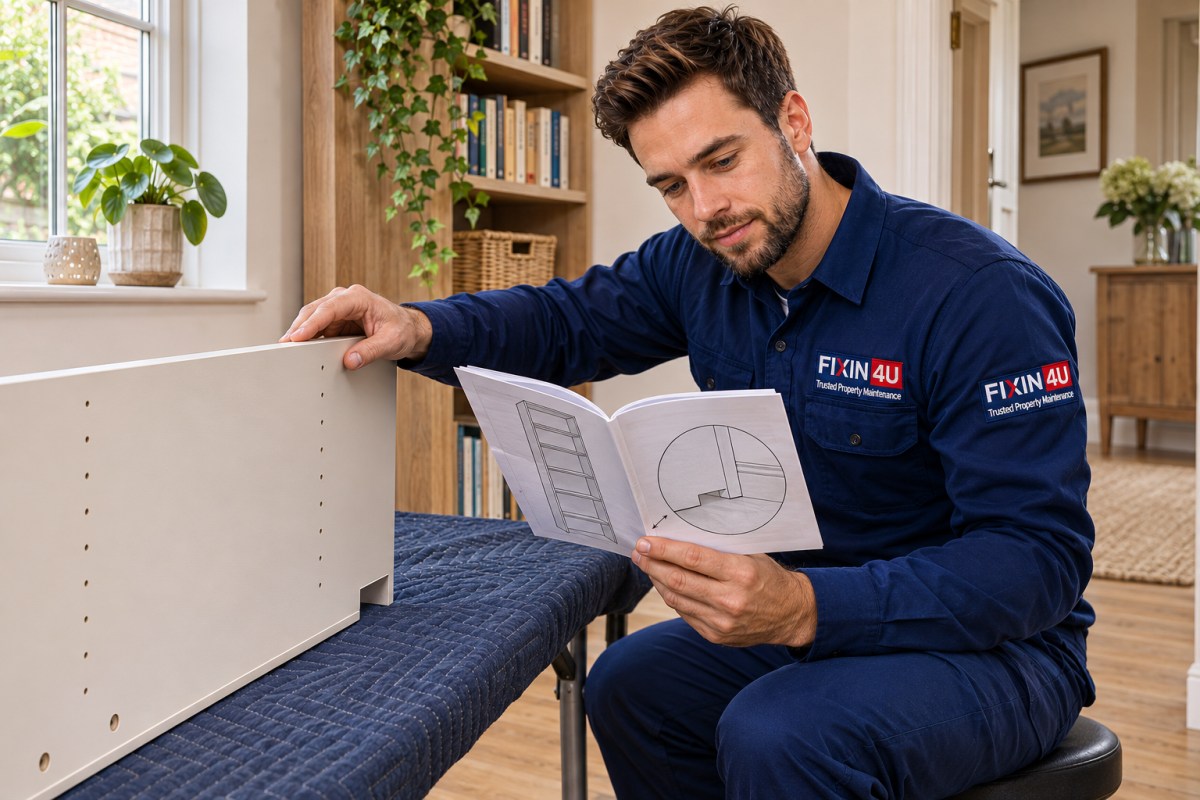 A factory recess should be compared with the actual skirting profile.
If the skirting is taller or projects farther than the available
recess, stop treating a flush fit as the assumed outcome. Ask whether
a different position, suitable alternative product or
manufacturer-supported arrangement is appropriate. Do not cut the
furniture, omit its back panel or replace its feet simply to make it fit.
Allow for the space the furniture will really occupy
A unit held forward by skirting occupies more room than its catalogue
depth alone suggests. Check the resulting front edge against circulation
space, nearby doors and adjacent furniture. Include handles and the
space needed to open cabinet doors or drawers.
In an alcove, side-wall skirting can reduce the clear width near the
floor. An opening measured above the trim may therefore overstate
the space available to a full-width base. Also check for uneven
walls and changes in width along the furniture's height.
 An alcove needs checking where the product actually sits,
including near floor level.
Keep access to sockets and other fittings in mind when choosing
the position. Do not crush plugs or leads behind the unit. A gap
created by skirting is not automatically a suitable cable route
or a substitute for any clearance required by another appliance.
Plan the assembly space as well as the finished footprint. The
instructions may require the furniture to be built in a particular
orientation and raised into position. Ask the assembler to confirm
that the available room supports that sequence.
Confirm wall restraint before loading the unit
Skirting clearance and anti-tip restraint are connected planning
questions. If the unit stands away from the wall, the specified
restraint arrangement still needs to work at that position.
A visually neat gap is not proof that the furniture is safely secured.
IKEA's BILLY buying guide requires wall attachment and fixings
suitable for the wall material. For any product, follow its own
current instructions. If the supplied arrangement cannot accommodate
the location, ask the manufacturer or a competent installer to
establish an appropriate solution before use.
There is no universal spacer thickness, bracket length or screw size
for this situation. Do not bend brackets, stack loose packing pieces
or use longer screws as an assumed solution. Do not tighten a
restraint to drag the top of the unit towards the wall while its
base remains obstructed.
Cutting or removing skirting is separate alteration work, not an
automatic part of flat-pack assembly. Discuss whether it is necessary,
what it affects and any permission required before agreeing to it.
Required restraint should not be omitted to preserve the decorative finish.
Prepare a useful assembly brief
Send the model, instruction file, skirting measurements and location
photographs. State the floor type, any known wall construction and
whether the property has restrictions on drilling or alterations.
Say when information is uncertain rather than guessing.
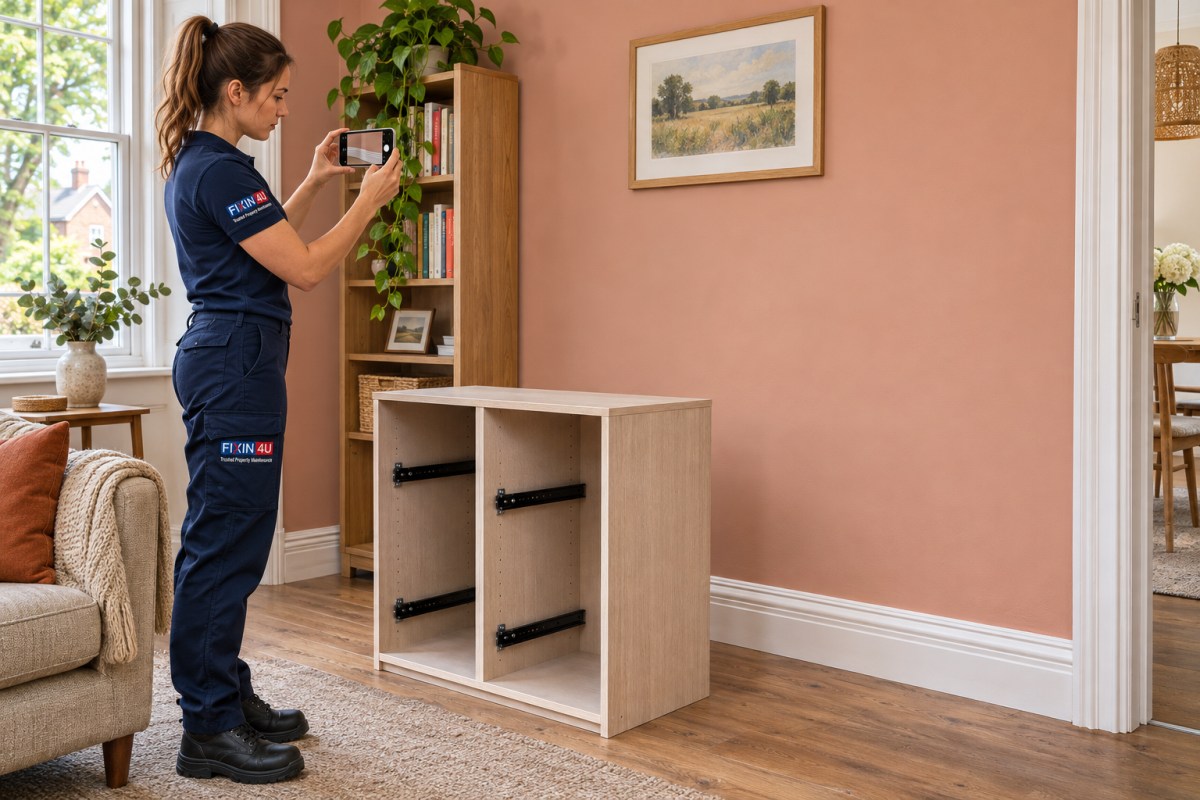 A wide location photograph adds context to the close-up measurements.
Agree the intended position and clarify whether assembly, required
restraint and any separate alteration are included. If the fit or
fixing plan remains unresolved, have it assessed before the furniture
is loaded or put into normal use.
“Here are the cabinet model, instructions and photographs of the
skirting. I have recorded its height and maximum projection.
Please check the rear clearance, final position and required
wall restraint before assembly.”
References & Standards
These manufacturer examples support the planning points. Use the
current instructions for the exact product; no universal clearance
or fixing specification is implied.